Angular2で作る天気予報チュートリアルver.1
背景
巷で流行っているReactとAngular2、今回はどちらも学習難易度が高いですが Reactより考え方が難しくないという理由でAngular2を自分で学んでみました。 今回は前回のlaravelでのショッピングサイトと同様に同じYouTuberのチュートリアルに沿って学習を始めていきました。
参考URL
Angular 2 Full App Tutorial - Weather App - #1 Introduction - YouTube
*事前にtypescriptをかじっておくことがおすすめです。
環境構築
$ git clone https://github.com/mschwarzmueller/angular2-weather-app-tut.git
$ npm install
$ npm start
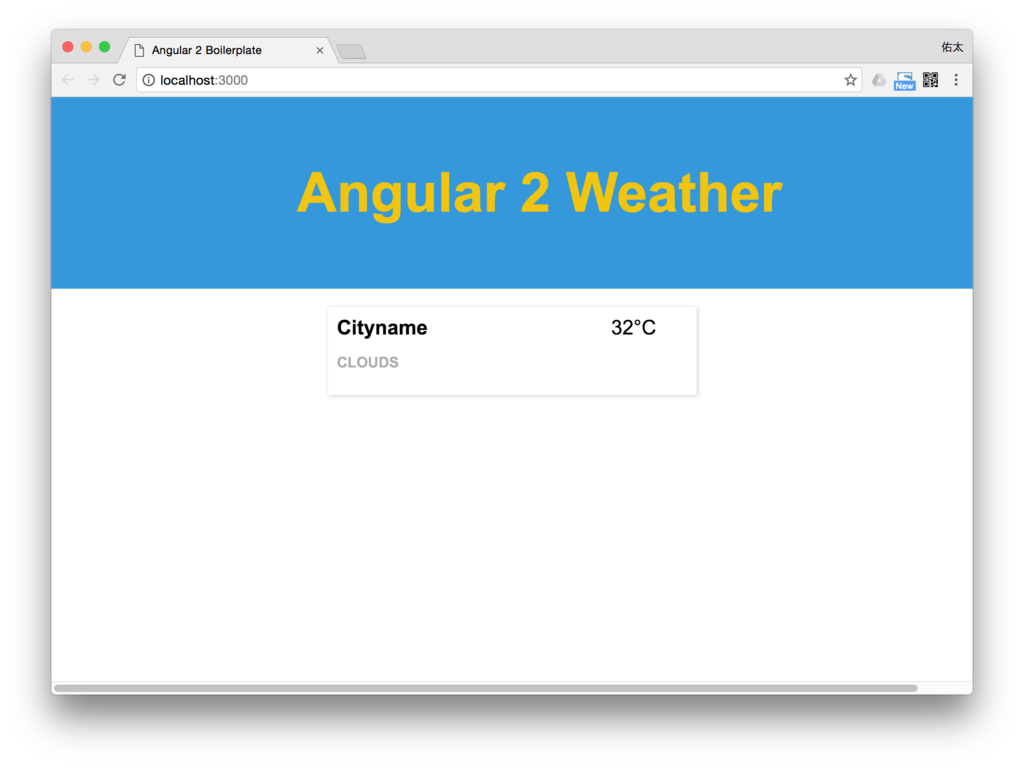
以下のような画面が表示されることを確認します。

まずは構造を見ていきましょう。
├── LICENSE.md
├── README.md
├── app
│   ├── app.component.js
│   ├── boot.js
│   └── weather
├── assets
│   └── scss
├── dev
│   ├── app.component.js
│   ├── app.component.js.map
│   ├── app.component.ts
│   ├── boot.ts
│   └── weather
├── gulpfile.js
├── index.html
├── package.json
├── src
│   └── css
├── tsconfig.json
├── typings
└── typings.json
このようなディレクトリ構造がわかります
次のように複数の地域名と天気予報情報を表示してみましょう。

作ってみよう
app/weatherにweather-item.tsを作成する。
- WeatherItemのクラスを定義しコンストラクタにてそれぞれ入る引数と静的型付けを行う。
export class WeatherItem {
    constructor(public cityName: string, public description: string, public temperature: number) {
    }
}
app/weatherにweather.data.tsを作成。
- 地域名、天気予報、気温のデータが入っている定数(WEATHER_ITEMS)をインスタンスを作成し用意してあげる。
import {WeatherItem} from "./weather-item";
export const WEATHER_ITEMS: WeatherItem[] = [
    new WeatherItem('London', 'Rainy', 6),
    new WeatherItem('New York', 'Sunny', 10)
];
app/weatherにweather-list.component.tsを作成 - weather.data.tsで作ったデータを受け取って整形し、weather-itemのコンポーネントにデータを渡す。
import {Component} from "angular2/core";
import {WeatherItemComponent} from "./weather-item.component";
import {WeatherItem} from "./weather-item";
import {OnInit} from "angular2/src/core/linker/interfaces";
import {WEATHER_ITEMS} from "./weather.data";
@Component({
    selector: 'weather-list',
    template: `
        <section class="weather-list">
            <weather-item *ngFor="#weatherItem of weatherItems" [item]="weatherItem"></weather-item>
        </section>
    `,
    directives: [WeatherItemComponent]
})
export class WeatherListComponent implements OnInit {
    weatherItems: WeatherItem[];

    ngOnInit():any {
        this.weatherItems = WEATHER_ITEMS;
    }
}
- OnInitというインタフェースを実装し、WEATHER_ITEMSをthis.weatherItemsにて受け取る
- 受け取ったデータをコンポーネント定義のtemplateにてangular2のfor文を用いweatherItemsを回す。 さらにdataの属性にitemをつけてweather-itemのコンポーネントにデータを渡す。
<weather-item *ngFor="#weatherItem of weatherItems" [item]="weatherItem"></weather-item>
app/weather-item.component.tsを作成
import {Component, Input} from 'angular2/core';
import {WeatherItem} from "./weather-item";

@Component({
    selector: 'weather-item',
    template: `
        <article class="weather-element">
            <div class="col-1">
                <h3>{{ weatherItem.cityName }}</h3>
                <p class="info">{{ weatherItem.description }}</p>
            </div>
            <div class="col-2">
                <span class="temperature">{{ weatherItem.temperature }}°C</span>
            </div>
        </article>
    `,
    styleUrls: ['src/css/weather-item.css'],
})
export class WeatherItemComponent {
    @Input('item') weatherItem: WeatherItem;
}
@Input('item')を用いてweather-list.component.tsのデータ属性itemを指定して データを取得し、templateのhtml文に{{ weatherItem.cityName }}のように入れたい箇所に書いていけば複数表示されていることがわかります。
まとめ
コンポーネントの概念が初めてで書き方が慣れないのと特殊なfor文や属性の受け取りに少し戸惑いましたがなんとか理解しながら進めていけました。 Angular2を学ぶためには事前にtypescriptを学ぶことで理解が早くなるのでそちらから学ぶことが必要であることと 次回にはデータを直書きでセットするのではなく動的に取得し表示させることができればと思います。